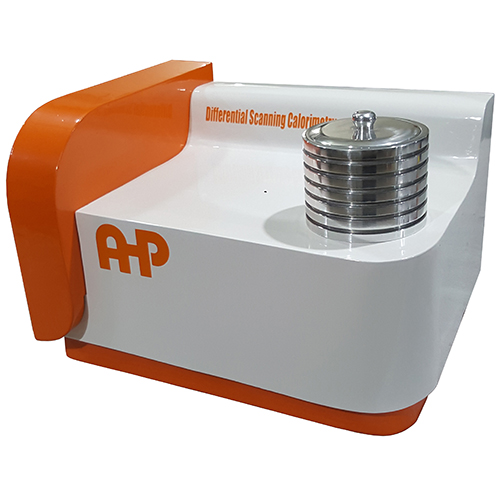
1- Frist be sure that the driver of machine is installed in the computer [How to install communication driver]
2- Install DTCOM software [How to install DTCOM software].
3- Open DTCOM software and connect to proper virtual COM port that is installed in No.1
4- Now you have connection to address 1 and 2 as the guide No.2
5- Sensor number one is related to temperature calibration of furnace. number one is the sensor in the left side that you put the sample on it.
6- Connect to sensor number 1 (address 1) and set the offset as you request.
7- For getting right value for this offset you need to do as follow:
8- For example you have reference Tin material in hand. Press Tin material to be flat and put it inside aluminum pan. Then put it on the left sensor. and empty pan on the right sensor.
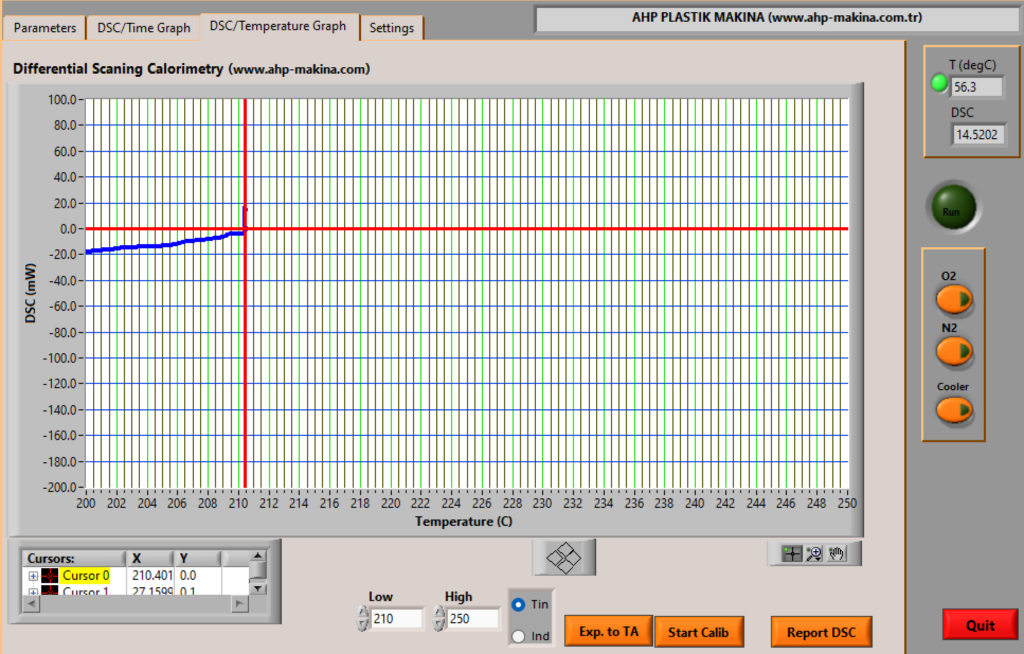
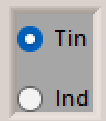
9- Go to DSC-Temp page of the software and select Tin as below:
10- Set the temperature to 240C
11- The in DSC-Temp page click on “Start Calib”
12- Wait till the temperature goes up to 240C. Temperature will go up with the rate of 10C/min till 210C and then rate will be automatically switched to rate 1C/min to catch the correct position for the onset point of melting of Tin. The point where the DSC graph starts descending or Onset point of DSc graph will be the melting point of Tin sample. Suppose that you measured the sample melting point and it shows 234C. But the reference material melting point is 231.9C. Then you need to have -2.1C correction. This value will be added to the old PV offset value of address 1 in the software. I mean you need to add -2.1C to the old value of PV offset of address 1. If the old value of PV offset is 0 then you need to set it to -2.1 then Enter. Don’t forget to Enter unless the value will not be saved. If the old value was 0.5 then new value will be 0.5-2.1=-1.6 .
13- After you set this value on address 1 then you need to add same value to address 2 PV offset value as well.
14- Then be noted to add the correction value to both of address 1 and 2.


